Your cart is currently empty!
How To Use an eSIM to Connect While You Travel
Wouldn’t it be nice if there was an easier way to get data on your smartphone without paying a pretty penny to your primary carrier? Turns out there is: it’s called an eSIM and it can help you simplify your phone service when you’re abroad.
The eSIM has been around for a few years, but as more devices begin to support it, it’s getting more popular. That’s great news for travelers and anyone else who values mobile data freedom.
If you’re wondering what an eSIM is and how to use one, you’re in the right place. Here’s everything you need to know to start enjoying the convenience and simplicity of this technology.
How to Use an eSIM for Travel
The eSIM shines in its simplicity, which makes it a convenient option when you’re on the go. With most plans in the PayeSIM app, you’ll continue using your regular phone number (if you have Dual SIM Dual Standby tech) while you access data via your eSIM. To get started using an eSIM, follow these four simple steps.
1. Check That Your Device Has eSIM Capabilities
Although the concept of an eSIM was first articulated by the GSMA in 2010, the technology only hit the market in certain devices in 2018. Right now, only a handful of versions of the iPhone, Samsung Galaxy, Google Pixel, and the 2019 Motorola Razr can use eSIM. Check out our FAQs for a full list of known devices that support eSIM.
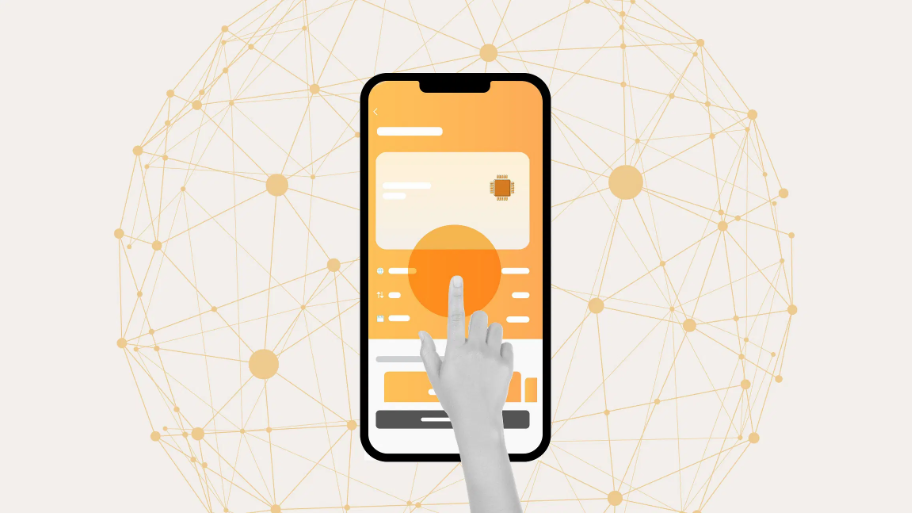
3. Select Your Country and Plan
Once you’re in the app, you’ll have access to a full catalog of eSIM plans. You can browse country-specific or regional options, or search for a specific data pack.
4. Install Your eSIM
Once you’ve tapped the “Buy Now” option, there are three ways to install your eSIM:
Direct Installation
- Open the PayeSIM app and navigate to “My eSIMs”
- Select “Details”
- Select “Install eSIM/Access Data”
- Select “Install eSIM” at the bottom of your screen to start the installation
Scan QR Code
- Navigate to “Settings” on your home screen
- Select “Cellular/Mobile”
- Select “Add a Cellular/Mobile Plan”
- Scan the eSIM QR code that was provided to you
- Enter a 4-digit confirmation code (if applicable)
Manual Installation
- Navigate to “Settings” on your home screen
- Select “Cellular/Mobile”
- Select “Add a Cellular/Mobile Plan”
- Select “Enter Details Manually”
- Enter the SM-DP, address, and activation code (you can find these in your purchase confirmation details)
- Enter a 4-digit confirmation code (if applicable)